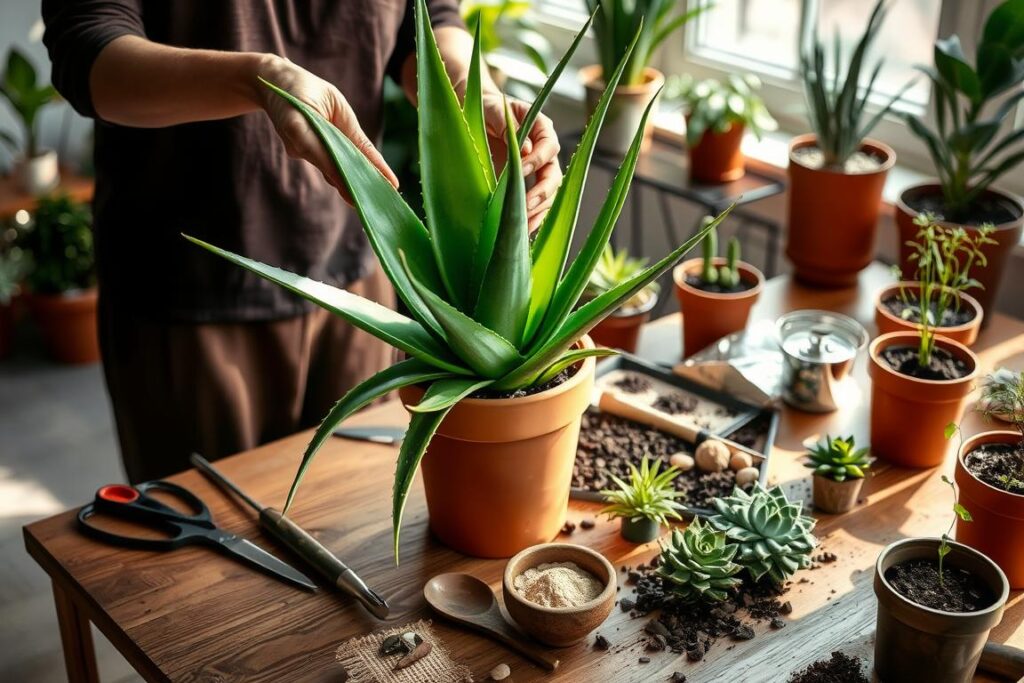
As I step into my sun-drenched garden, the vibrant green leaves of my aloe vera plant catch my eye. This remarkable succulent has been a trusted companion for the past 8 years. It provides soothing relief for minor skin irritations and adds beauty to my outdoor oasis. But now, it’s time to give it the care it deserves – repotting.
Repotting aloe vera plants is key to keeping them healthy and promoting growth. Whether you’re a seasoned gardener or new to succulents, this guide will help you repot your aloe vera. It will ensure it thrives for years to come.
Key Takeaways
- Aloe vera plants should be repotted during the growing season, typically in spring or summer.
- Choose a pot size that is 5-10% wider than the current plant to prevent excessive water retention and root binding.
- Use a well-draining succulent and cactus mix to ensure proper root development and prevent root rot.
- Water the aloe vera plant a few days before repotting and allow it to settle in the new mix for 5-7 days before resuming regular watering.
- Proper aftercare, such as placing the plant in indirect sunlight and allowing the soil to dry between waterings, is key for the plant’s recovery and ongoing health.
Understanding Aloe Vera Plant Basics
Aloe vera is a unique succulent with thick leaves that hold water. This lets it grow well in dry places. It’s easy to care for and has many health benefits, making it great for gardens indoors and outdoors.
Characteristics of Healthy Aloe Plants
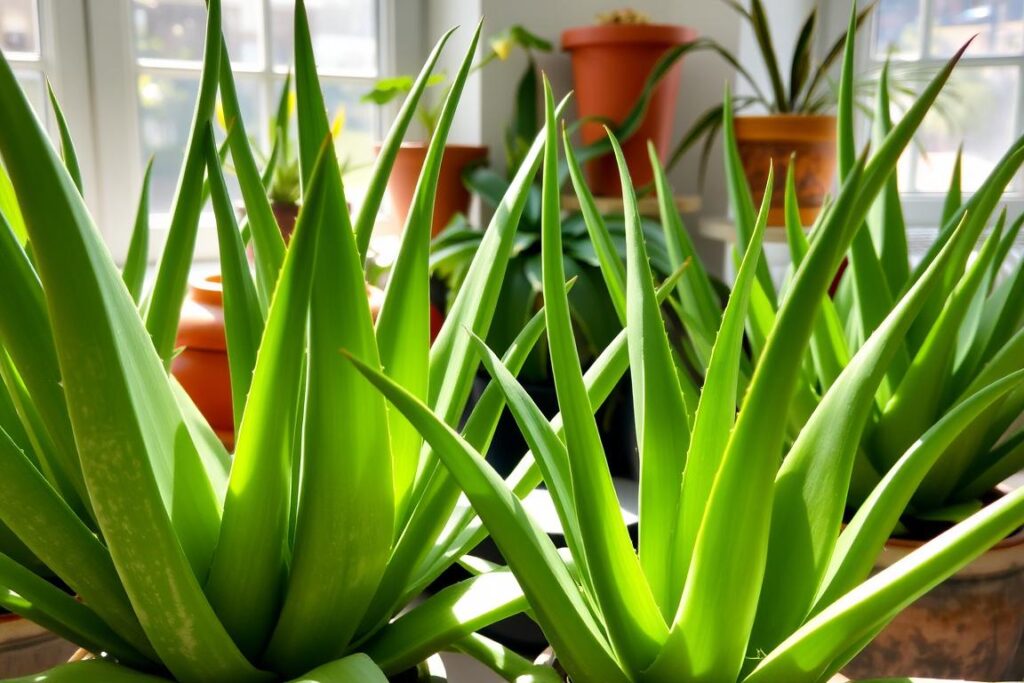
Healthy aloe vera plants have thick, plump leaves and can grow offsets or “pups.” These small plants can be separated and grown into new plants. The leaves should be a bright green color without any spots or discoloration.
Natural Growing Habits
Aloe vera plants thrive in dry, desert-like areas. They use their leaves to store water during dry times. In the wild, they grow in clusters, supporting each other and sharing resources.
Benefits of Growing Aloe Vera
Aloe vera plants are not just pretty; they’re also very useful. The gel in their leaves soothes burns, wounds, and skin irritations. They also clean the air by removing toxins. Growing aloe vera can be a rewarding and beneficial experience.
Signs Your Aloe Vera Needs Repotting
If you love growing aloe vera, you’ll need to repot it at some point. But how do you know when it’s time? Here are the main signs that show your aloe vera needs a bigger home:
- The plant has outgrown its current pot. Aloe vera plants need repotting when they’re root-bound. This means roots are circling the pot or showing through the drainage holes.
- The leaves are wilting or becoming leggy. If your plant looks stunted or top-heavy, it’s a sign of an overcrowded root system.
- The soil is always moist, even when the top inch is dry. This can cause root rot if not fixed.
Watching for these signs will tell you when to repot aloe vera. This ensures your plant stays healthy and grows well. Remember, aloe vera usually needs repotting every 2-3 years for the best health.
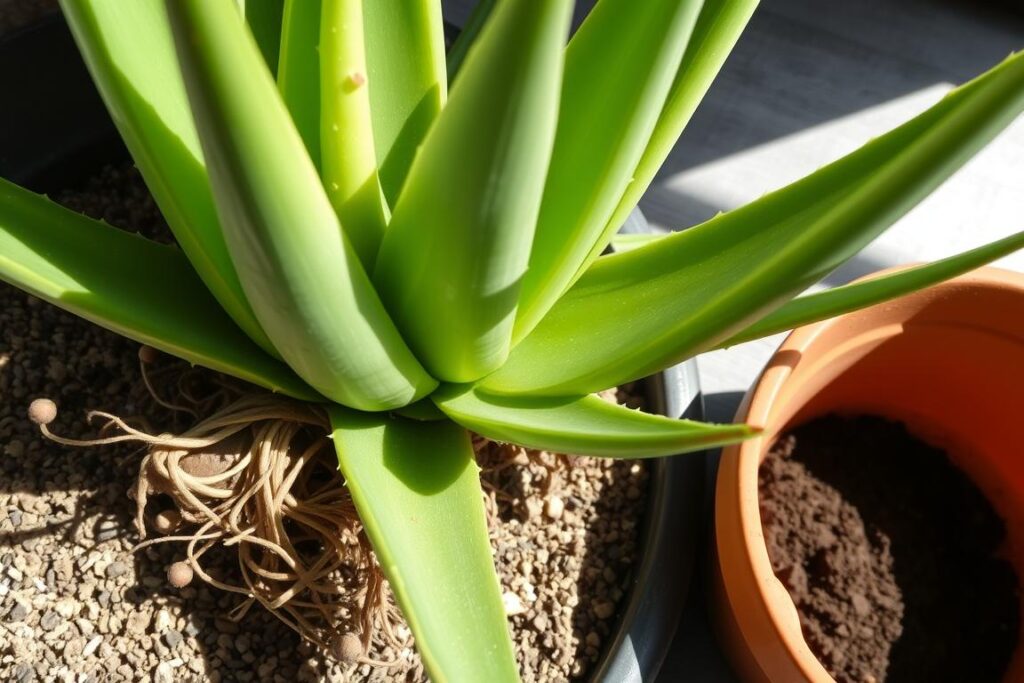
“Don’t wait until your aloe vera plant is completely root-bound before repotting. Address the signs early to prevent stunted growth and other issues.”
By keeping an eye out for signs your aloe vera needs repotting, you can keep your plant happy and healthy. This way, it will continue to give you its soothing gel for many years.
Best Time to Repot Your Aloe Plant
Knowing when to repot your aloe vera is key for its health and growth. The best time is during its active growing season, which is spring and summer. This lets the plant settle into its new home quickly and reduces shock.
Seasonal Timing Considerations
In temperate areas, spring and early summer are the best times to repot aloe vera. The warmer weather and longer days mean the plant is growing fast. This is a great time to give it fresh soil. Don’t repot in winter, as the plant is dormant and can’t handle the stress.
Growth Cycle Factors
- Repot aloe vera when it’s too big for its pot or the soil is old and lacking nutrients.
- Watch for signs like roots coming out of the pot or a plant that’s top-heavy and might fall over.
- In some places, early fall is also good for repotting, as the plant can settle in before winter.
Timing the repotting with the plant’s natural cycle ensures a healthy transplant. This helps your aloe vera thrive.
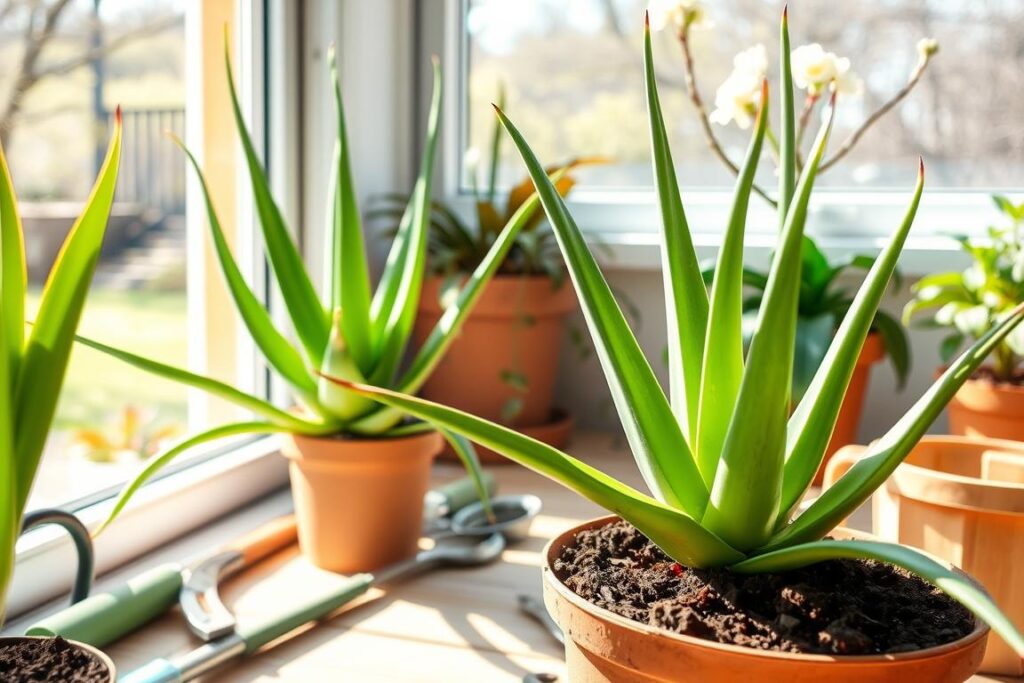
Essential Tools and Materials for Repotting
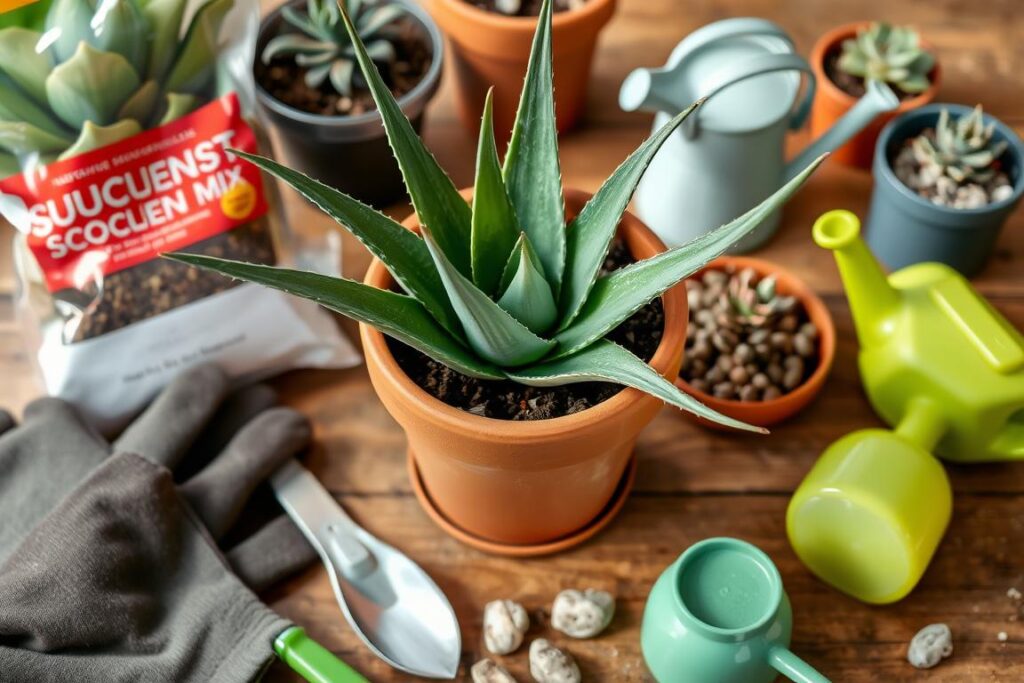
Repotting aloe vera plants is easy but needs the right tools and materials. Before starting, get the essential supplies to make the task easy and stress-free.
- A new pot with drainage holes: Pick a container that’s one size bigger than the current one for the plant’s growth.
- Well-draining succulent soil mix: Aloe vera loves soil made for cacti and succulents. It helps with drainage and nutrient uptake.
- Gloves (optional): Gloves are not needed but can protect your hands from the aloe’s sharp leaves and prevent irritation.
- Clean, sharp pruning shears: These are useful for cutting damaged or overgrown roots during repotting.
- Repotting mat or surface: A clean, sturdy surface like a repotting mat helps keep the soil in place and makes the process cleaner.
Having all the aloe vera repotting supplies and tools for repotting aloe ready before you start makes the process smooth. Take the time to gather these items, and you’ll successfully transplant your aloe vera plant.
| Essential Aloe Vera Repotting Supplies | Description |
|---|---|
| New Pot with Drainage Holes | Choose a container one size larger than the current pot to accommodate the plant’s growth. |
| Well-Draining Succulent Soil Mix | A soil blend for cacti and succulents, promoting proper drainage and nutrient uptake. |
| Gloves (Optional) | Protect your hands from the aloe’s sharp leaves and prevent skin irritation. |
| Clean, Sharp Pruning Shears | Useful for trimming any damaged or overgrown roots during the repotting process. |
| Repotting Mat or Surface | A clean, sturdy surface to contain the soil and make the repotting process less messy. |
“Repotting aloe vera every two to three years can aid in refreshing the soil, prevent root-bound issues, and encourage growth in the plant.”
Choosing the Right Pot Size and Type
Choosing the right pot size and type is key for a healthy aloe vera plant. The pot should offer the right balance of space, drainage, and air. Let’s look at what to consider when picking the perfect pot for your aloe vera.
Material Considerations
Aloe vera plants can grow well in different pot materials. These include terracotta, ceramic, and plastic. Each material has its own benefits:
- Terracotta pots are great because they let the soil breathe and excess moisture evaporate.
- Ceramic pots are stylish and keep some moisture, perfect for aloe vera.
- Plastic pots are light and keep moisture, so you don’t have to water as often.
Drainage Requirements
Drainage is key for aloe vera plants to avoid root rot. Make sure your pot has holes at the bottom for water to drain. A good soil mix and a pot with drainage will help your aloe vera thrive.
For aloe vera pot size, choose one that’s 5-10% wider than the plant’s current size. Aloe vera likes small, shallow pots for its growth. As it grows, you can move it to a bigger pot.

By picking the best pots for aloe vera and considering their needs, you’ll give your plant the best chance to grow strong and healthy.
How to Repot Aloe Vera
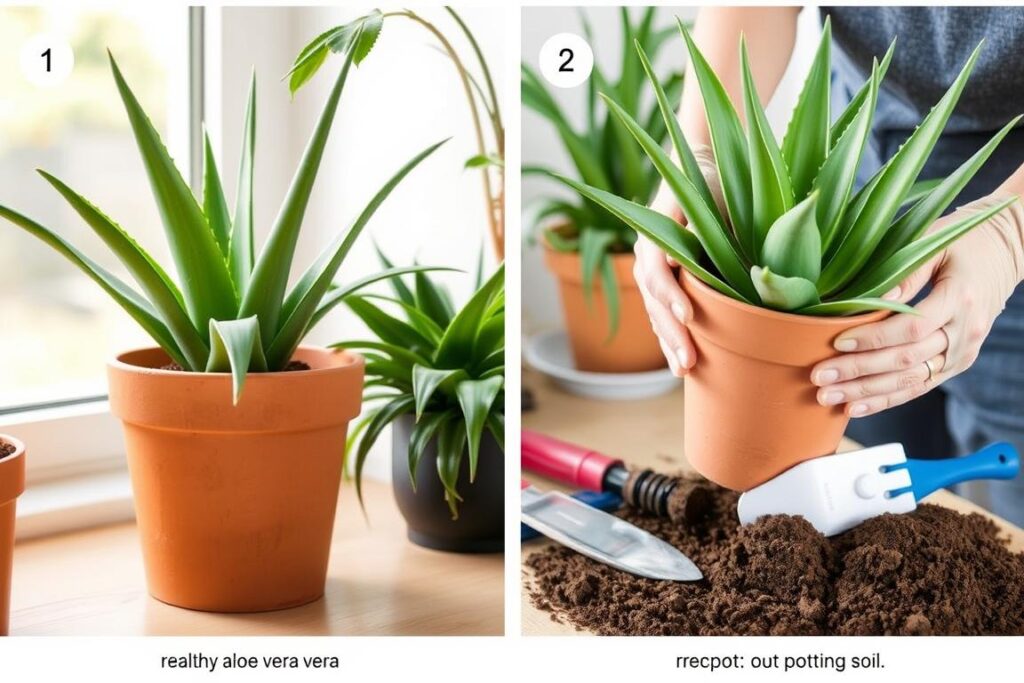
Repotting your aloe vera plant is key to keeping it healthy and encouraging new growth. The steps for repotting aloe vera are simple, but it’s vital to do them right. This ensures the plant thrives in its new environment. Let’s explore the aloe vera repotting process.
Before you start, water your aloe vera 3-5 days in advance. This makes the roots easier to handle and reduces stress. When it’s time to repot, gently loosen the roots and lift the plant out.
- Choose a new pot that’s 5-10% wider than the old one. Make sure it has good drainage holes to avoid waterlogging.
- Put a fresh, draining potting mix in the bottom of the new pot. A mix of cactus soil, perlite, and sand works well.
- Put the aloe vera in the middle of the pot, with the top of the roots above the pot rim.
- Fill in around the plant with more potting mix, but don’t pack it too tight.
- Water lightly to settle the soil, but don’t overdo it.
By following these steps for repotting aloe vera, your plant will do great in its new spot. Aloe vera plants are tough and can handle small mistakes during repotting. With a bit of care, your aloe vera will keep growing and thriving for many years.
“Aloe vera plants are very forgiving when it comes to repotting; the requirements provided for optimum repotting results but aloe vera can tolerate less than ideal conditions.”
Selecting the Perfect Soil Mix
Choosing the right soil mix is key when repotting your aloe vera plant. Aloe vera loves soil that drains well and is rich in nutrients. This mix should balance moisture and air perfectly.
Drainage Properties
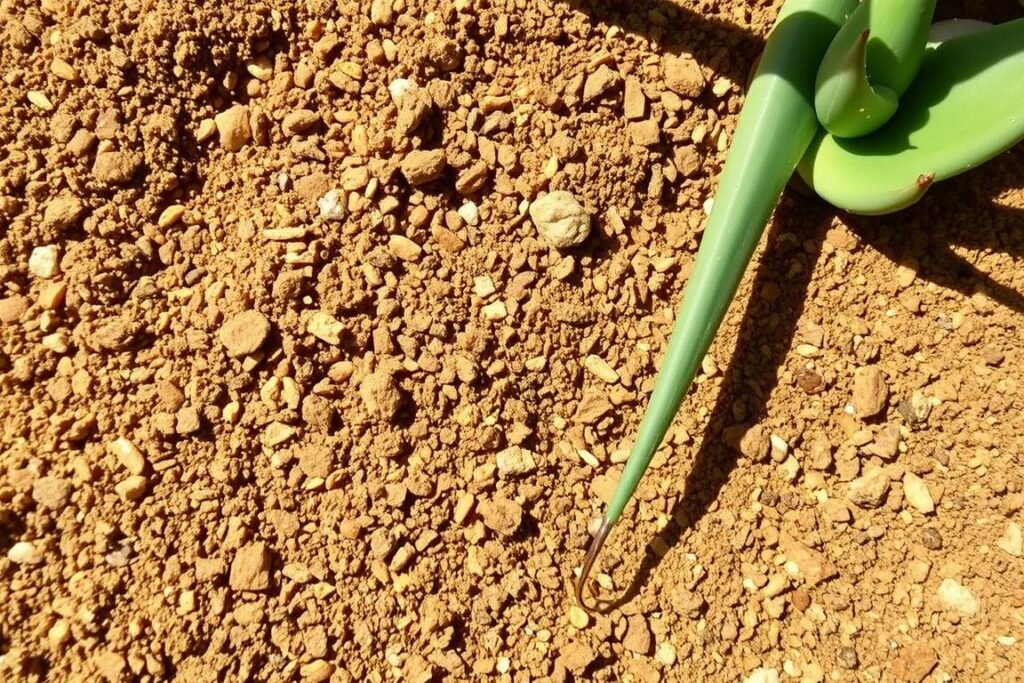
Aloe vera needs soil that drains fast to avoid waterlogging and root rot. Use a potting mix made for succulents and cacti. These mixes are gritty and porous, thanks to sand, perlite, and pumice.
Nutrient Requirements
Aloe vera also needs a nutrient-rich soil mix. Add compost or aged bark to provide nutrients. Regular potting soil can hold too much water, harming your plant.
To make a great soil mix for aloe vera, mix sand, loam, perlite, pumice, and pine bark. This blend will give your aloe vera the best soil for aloe vera and the aloe vera potting mix it needs to thrive.
“Aloe vera plants are hardy and low-maintenance, but they do require the right soil conditions to truly flourish.”
By picking the perfect soil mix for your aloe vera, you’ll help it grow strong and healthy. Enjoy watching it thrive for years.
Handling and Removing the Plant
Repotting an aloe vera plant needs care to keep it healthy. Start by pressing gently on the pot’s sides or using a knife to loosen the roots. If the roots are stuck, gently pull them apart without harming them.
Remove old soil from the roots carefully. This step is important to avoid damaging the roots.
Wear gloves when handling aloe vera plants. Their leaves can be sharp and might cut your skin. This step helps protect your hands and makes repotting easier.
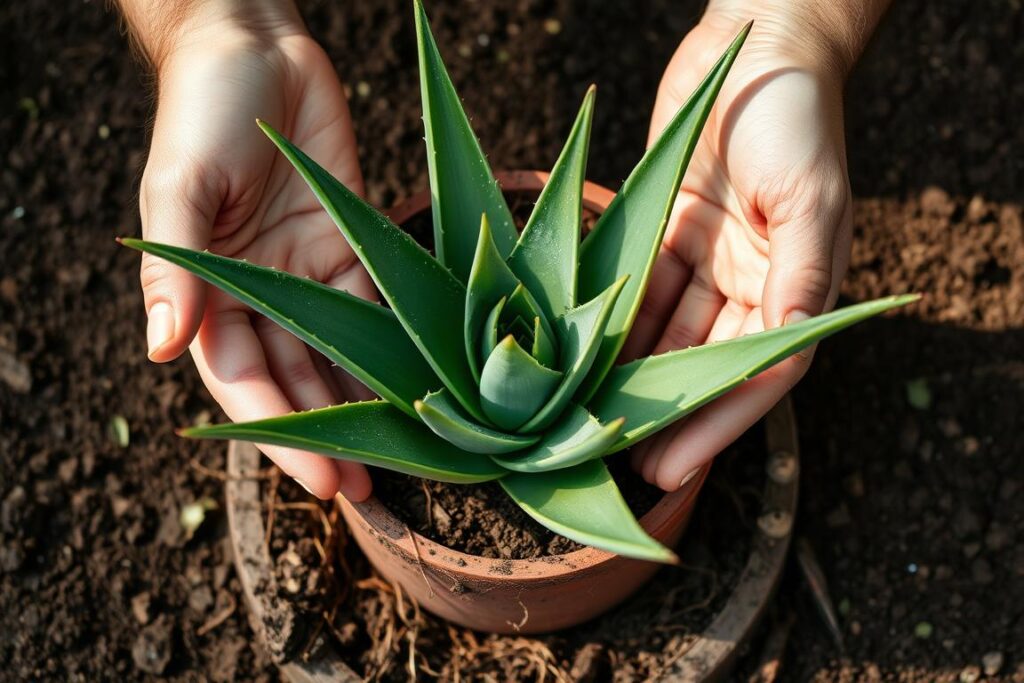
Aloe vera plants need fresh soil every year or two. Their roots grow to fill about two-thirds of the pot. Repot any baby aloe plants when they are two or three inches tall.
Don’t water the aloe vera right after repotting. This can stop it from growing new roots. With the right care, your aloe vera will do well in its new home.
Root Care and Management
Keeping your aloe vera plant’s roots healthy is key to its long life and energy. Regular checks and the right care help your aloe grow well. Let’s look at the important parts of aloe vera root care and management.
Treating Damaged Roots
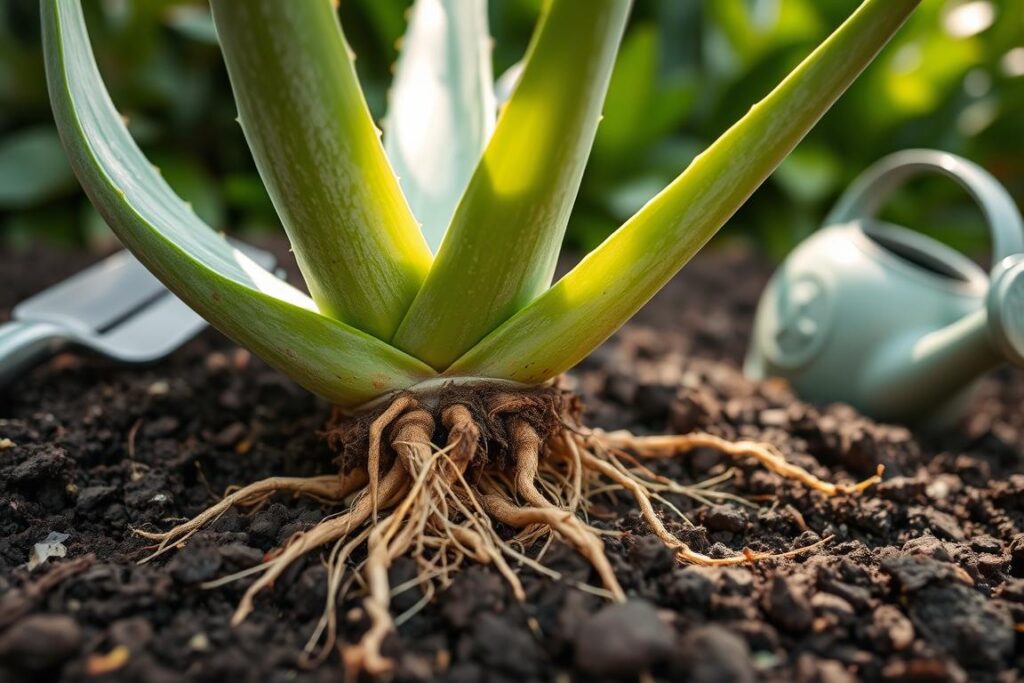
Check your aloe vera plant’s roots for damage or rot. If you see discolored, mushy, or too long roots, it’s time to act. Cut off any dead, damaged, or too long roots with clean pruning shears. This helps your plant grow strong, healthy roots.
If you have to cut a lot of roots, let the plant dry for 1-2 days before repotting. This prevents rot. Healthy aloe vera roots are firm and light, showing they absorb water and nutrients well.
Root Pruning Guidelines
- Identify any dead, damaged, or excessively long roots and remove them with clean pruning shears.
- Allow the plant to dry for 1-2 days after major root pruning to prevent rot before repotting.
- Healthy roots should be firm and light in color, signaling optimal water and nutrient absorption.
By carefully checking and trimming your aloe vera’s roots, you help it grow strong and healthy. This leads to a thriving, vibrant aloe vera plant.
Dealing with Aloe Vera Pups
Starting to repot your aloe vera plant? You might see small offsets, or “pups.” These are a natural part of the plant’s growth. They can also be a great addition to your collection.
Aloe vera plants can grow many pups. Some plants can have up to 25 offsets. The best time to repot these pups is in the winter, when the plant isn’t growing.
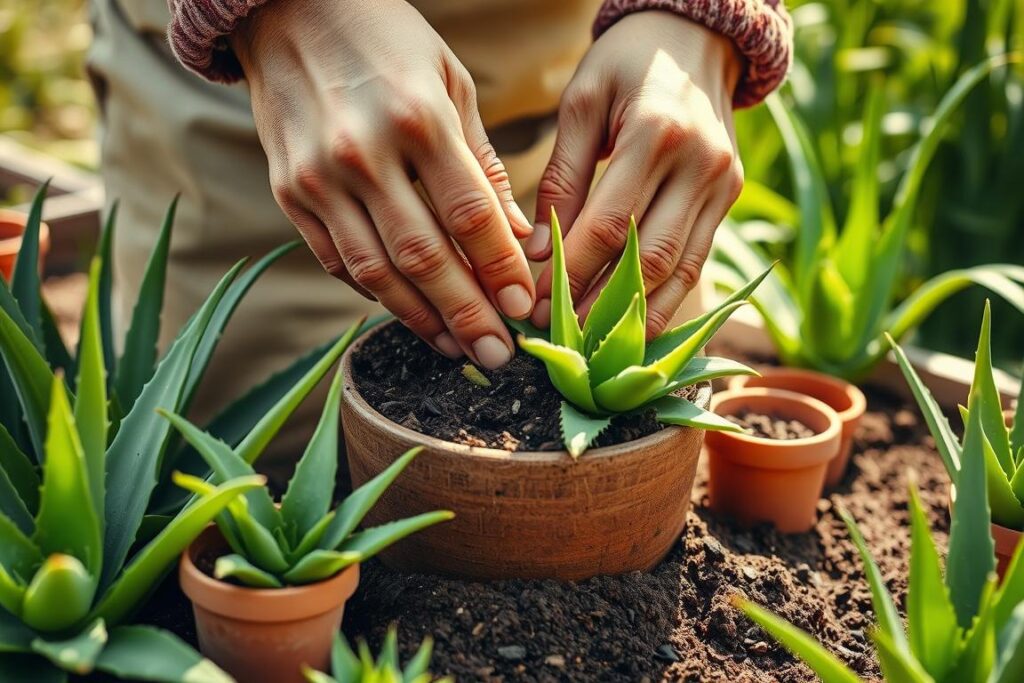
When you’re repotting aloe vera pups, be gentle. Pull them apart from the mother plant, making sure each pup has roots. For bigger pups, use clean, sharp shears to divide them. Let the cut ends callus before replanting to avoid problems.
Separating the aloe vera offsets helps the mother plant. It also lets the pups grow into strong plants. With the right care, these pups can grow as big as their parent in just three to four years.
Aloe vera is more than just a plant. It’s good for medicine, skincare, and even eating. By taking care of your aloe vera pups, you’ll keep your plants healthy for a long time.
Proper Planting Depth and Technique
Repotting your aloe vera plant right is key. Knowing the right depth and technique is important. This ensures your aloe does well in its new home and keeps giving you benefits.
Positioning Guidelines
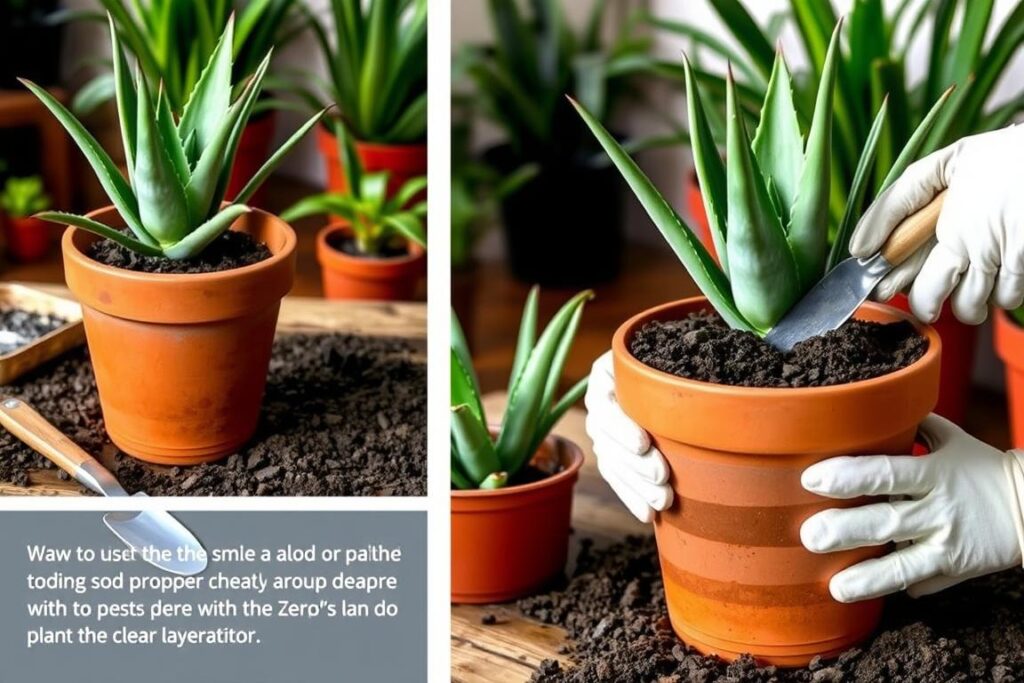
Place your aloe vera in the new pot at the same depth as before. Make sure the plant’s base is level with the soil. Spread the roots out and fill the soil around to support the plant.
Soil Compaction Tips
- Gently press the soil around the plant to anchor it. But don’t overdo it.
- Leave about an inch or two at the top of the pot. This prevents water from spilling over.
- Use a dry, well-draining soil mix made for aloe vera. It helps with growth and prevents root rot.
By following these easy steps, you’ll give your aloe vera a great start. Enjoy a healthy, thriving plant for many years.
Post-Repotting Care Instructions
After repotting your aloe vera, it’s key to give it the right care. Place it back in its usual spot to keep it comfortable. Wait 5-7 days before watering to let the roots settle and any wounds to heal.
After the waiting time, start your usual aloe care again. Adjust how often you water based on the season. In warmer months, water more often. In cooler months, let the soil dry out more.
Watch for signs of stress like wilting leaves or slow growth. Adjust the light and temperature if needed. By following these steps, your aloe vera will thrive in its new home. Remember, aloe vera care after repotting and watering repotted aloe are vital for its health.

